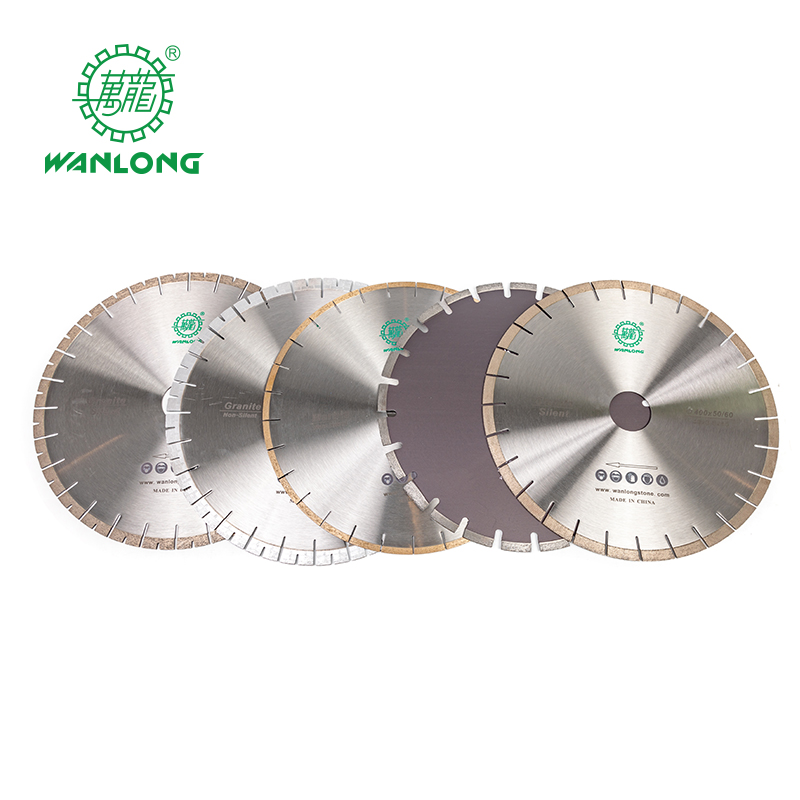
The diamond circular saw blade substrate is generally a slotted disc made of 65Mn, T12 and other materials, which is made by quenching + medium temperature tempering heat treatment. Its processing requirements include dimensional accuracy and shape and position accuracy. Dimensional accuracy requirements include: outer diameter, inner diameter, thickness, nozzle, tooth table, etc. Shape and position accuracy includes: roundness, concentricity, straightness, parallelism, radial runout, end face runout, etc.
During sawing work, the diamond saw blade must ensure small deformation and good rigidity, so that the thickness of the sawed stone slab is uniform and the plate output rate is high. To meet these requirements, the saw blade must be leveled and stress adjusted multiple times. The smaller the flatness and end face runout values, the more uniform the stress, and the better the use effect of the saw blade. At present, the most advanced stress detection and processing equipment in the world integrates the leveling detection of the saw blade substrate, and consists of four parts: stress detection and rolling unit, flatness and end face runout correction unit, automatic detection unit and PC software control unit. Working principle: First, a high-precision laser sensor is used to measure the various indicators of the substrate, and then the PC software control unit is used to determine whether the various indicators meet the requirements, so as to decide whether to issue instructions to the stress rolling unit, flatness and end runout correction unit to correct the substrate. It can realize the integrated automatic processing of the four major indicators of tension, end runout, radial runout and flatness.
For the detection of flatness and end runout, it uses the flange plane as the reference plane, and slides on the precision guide rail through the laser sensor to detect the distance between the highest point and the lowest point on the substrate surface and the reference plane when the substrate rotates. At present, some equipment also takes the highest point and the lowest point on the 50mm2 area as the research object, which is particularly sensitive to the packaging on the substrate surface and is displayed vividly on the display screen. If the substrate is qualified, the points on the substrate surface are evenly distributed in a small control band centered on the reference plane.

For the detection of substrate stress, a constant deformation is first added to the substrate in advance, and then the deformation of the substrate in the 90-degree direction is detected by the laser sensor. In this way, the stress detection of the substrate is quantified while avoiding the influence of factors such as thickness on the stress detection.
 WANLONG
